
Monday, August 1, 2011
Guest Post!!!!
Hey readers! Today is the day of my guest post over at Scissors & Spatulas so head on over and get the full story on my DIY Play Kitchen with updated pictures!

Wednesday, July 20, 2011


Tuesday, July 12, 2011


Sunday, July 10, 2011


Photography
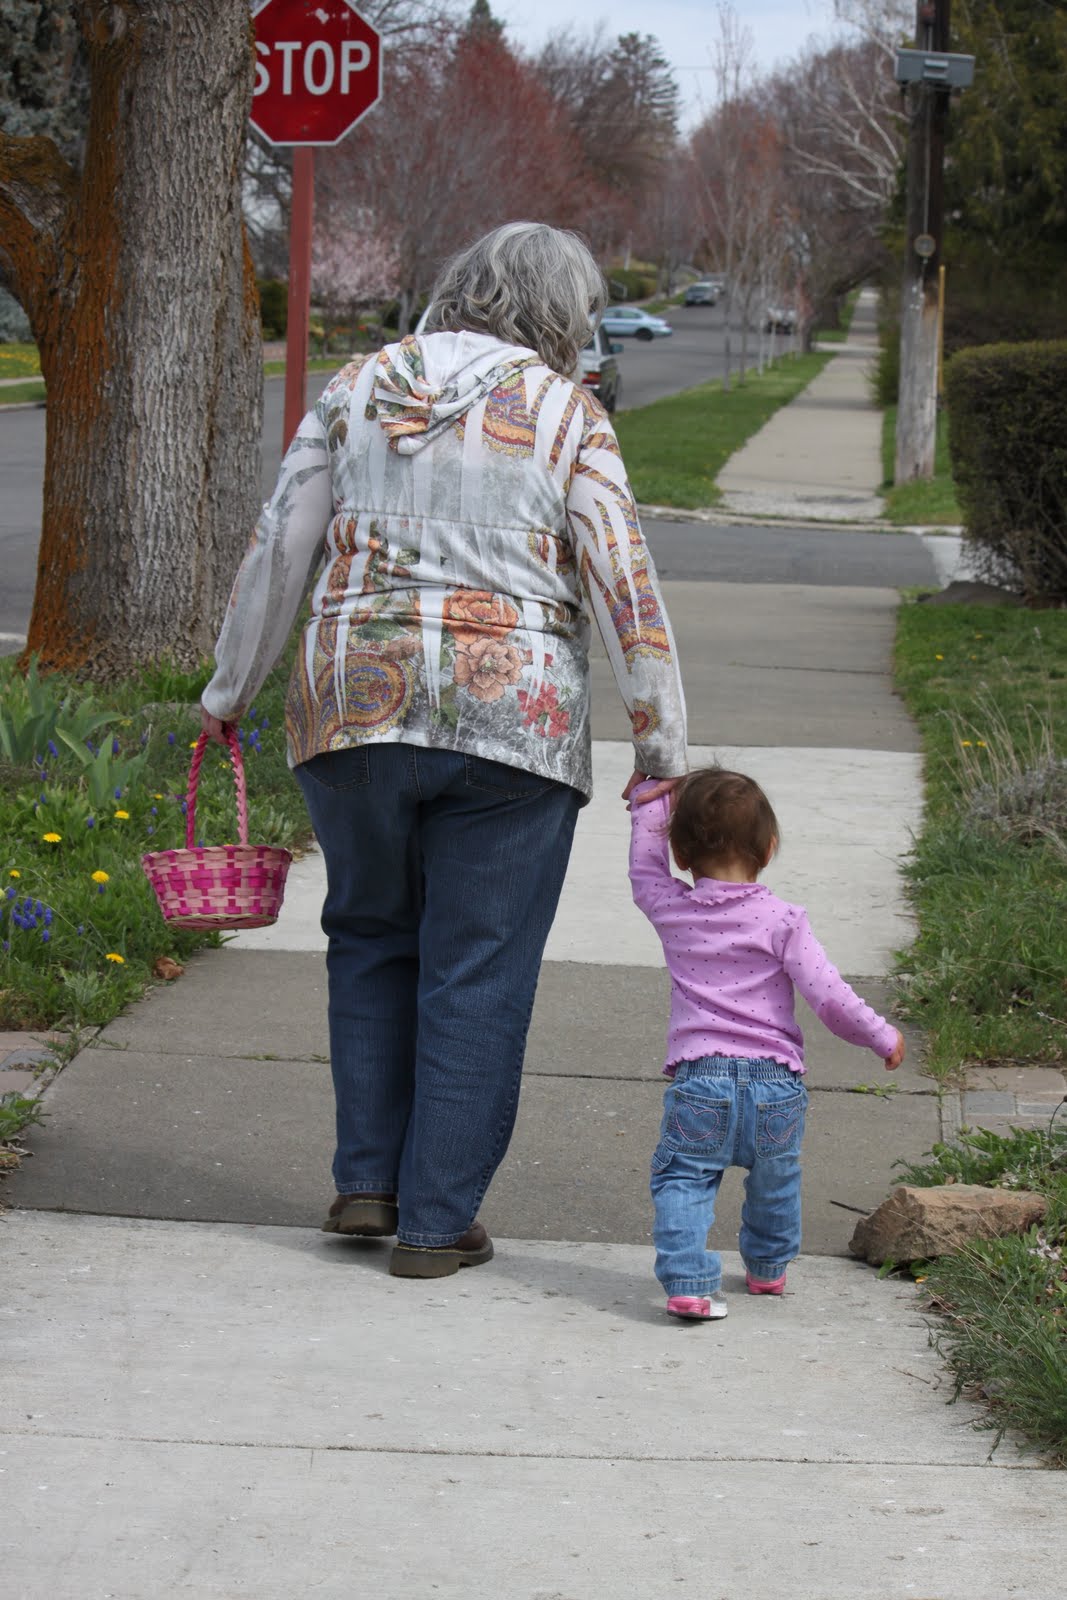
Lately I've been trying to get into photography more and more. A few months ago I got my first DSLR and I LOVE it! I've been constantly taking pictures and recently I've been learning more about photo editing.
I decided to start up an account at 365Project and I've had a lot of fun browsing and uploading images there. It's nice to be able to get some feedback on your pictures from other amateurs and professionals. I've also created an account at Pinterest which is like a virtual pinboard of all your favorite photos. It can be pretty addicting to browse there!
Anyway, I'm going to start uploading more and more pictures that I take, some will be edited and some will be SOOC (probably most will be that way). They will all be my images unless otherwise noted. Also if you'd like to view my 365Project you can do so here.
Monday, June 13, 2011
A Kitchen for the Girls
Wow, it's been a while since I have blogged! I apologize for that. Beautiful sunny days mean less time inside, therefore, less time on the computer!
A few months ago I started a project for the girls and just (finally) finished it (enough to play with). Evelyn used to have a play kitchen, but it was given to someone else, so I decided to make her one of her own!
I started out with an entertainment center that someone was throwing away. Brought it home and got to work!

First I sanded the whole thing down and removed the cardboard back (with Evie's help of course).


Then I started drawing measuring and marking my cut lines for the back, doors, and shelves.

Which my pop then helped me cut (and yes I did do some of the cuts myself, but I can't safely photograph myself cutting!).

Next I cut out a hole for the sink, primed the whole thing, and attached the back.

And after many coats of paint (at least 4 all around) I was ready to put the doors on and shelves in.

After the doors and shelves were attached I installed the faucet and sink bowl (which is just a stainless steel bowl), oven, door handles (from Lowe's), utensil rack (from Ikea), stovetop dials (which I failed to take a close up of, also from Ikea), and an apron hanger on the side (Ikea again).

I still have some touches to add (a curtain for under the sink and a "window" with curtains above the sink).
This was an extremely inexpensive gift to make, just time consuming (especially the painting)! The only things I spent money on were the handles, utensil rack, apron hanger and a sheet of particle board. I had the paint, faucet, and "sink" already. Total cost? Around $30! Hopefully it will last a long time.
A few months ago I started a project for the girls and just (finally) finished it (enough to play with). Evelyn used to have a play kitchen, but it was given to someone else, so I decided to make her one of her own!
 |

First I sanded the whole thing down and removed the cardboard back (with Evie's help of course).


Then I started drawing measuring and marking my cut lines for the back, doors, and shelves.

Which my pop then helped me cut (and yes I did do some of the cuts myself, but I can't safely photograph myself cutting!).

Next I cut out a hole for the sink, primed the whole thing, and attached the back.

And after many coats of paint (at least 4 all around) I was ready to put the doors on and shelves in.

After the doors and shelves were attached I installed the faucet and sink bowl (which is just a stainless steel bowl), oven, door handles (from Lowe's), utensil rack (from Ikea), stovetop dials (which I failed to take a close up of, also from Ikea), and an apron hanger on the side (Ikea again).
 |
| The revealing of the kitchen (can you tell the girls were excited?). |

I still have some touches to add (a curtain for under the sink and a "window" with curtains above the sink).
This was an extremely inexpensive gift to make, just time consuming (especially the painting)! The only things I spent money on were the handles, utensil rack, apron hanger and a sheet of particle board. I had the paint, faucet, and "sink" already. Total cost? Around $30! Hopefully it will last a long time.
Tuesday, April 19, 2011
2nd Chance Prom
Matt and I went to 2nd Chance Prom a few weeks back. It was a lot of fun! They had a live band, followed by a DJ, free beer and spiked drinks, and tons of great hor d'ourves!
Here are a couple of links to the pictures from 2nd Chance Prom a few weekends ago!
Subscribe to:
Posts (Atom)